
Nurture your garden, nourish your soul.
A growing collection of ideas, inspiration, and seasonal advice to help you create spaces that bloom with life.
Grow with Us

Creating a wildflower meadow garden is a delightful project that requires thorough planning for success. It’s important to remember that wildflower seeds will not grow well in areas with established lawns, existing grass, or weeds due to competition for sunlight, nutrients, and water. To ensure success, a clear and healthy seedbed is necessary for the seeds to take root and establish themselves.
Summer and winter are ideal times for this preparation, ensuring your garden is ready for spring sowing. Below are some methods and tools to help you get started.
Keep in mind that disturbing the soil by raking, pulling weeds, or tilling can bring buried weed seeds to the surface, giving them the light they need to sprout. So don’t be surprised if a few unexpected weeds show up!
Solarisation and Smothering
Solarisation and smothering are organic methods to eliminate weeds by depriving them of sunlight. Both methods are chemical-free and environmentally friendly, though they require patience. We recommend repeating this process a few times over winter. Once the debris is cleared, get sowing straight away.
Solarisation:
Lay dark plastic sheets or tarp over the planting area and secure the edges with rocks or stakes. Ensure the plastic is tightly sealed to trap heat.
Allow the plastic to remain for 4-6 weeks during hot weather. The trapped heat and lack of sunlight will kill weeds and grasses.
Smothering:
Cover the garden area with dampened black ink newspaper or brown cardboard. Use rocks or soil to hold the layers in place.
Leave the covering in place for several months, ideally through the winter. This method starves weeds of light, making them easier to remove.
Using Hand Tools
Hand tools such as shovels, rakes and broadforks are a great option for smaller garden areas. Using hand tools require more physical effort but provides precise control over the soil preparation process.
Here are some useful tools to have and their benefits:
Use shovels to dig out stubborn weeds, ensuring their roots are completely removed. You can then use rakes to level the soil and remove any small debris. This will create a smooth seedbed, which is crucial for even seed distribution.
Broadforks are ideal for loosening compacted soil without disturbing the soil structure. By penetrating deep into the soil, broadforks help aerate and improve drainage.
Organic Herbicides
Organic herbicides offer a natural way to control weeds without harmful chemicals. Products like Slasher Weedkiller or Weedmaster Argo are effective options. Organic herbicides break down quickly in the environment, reducing the risk of long-term soil contamination.
Here’s how to use them:
Apply herbicides on a calm, dry day to avoid drift and ensure effective absorption. Follow the manufacturer’s guidelines for mixing and application rates.
Target the herbicide directly on the weeds and you may need to repeat the process as some stubborn weeds may require multiple applications.
Using a Sod Cutter
A sod cutter is a powerful tool for removing grass and weeds, creating a clean slate for your wildflower garden. This machine slices through the grass at the root level, making it easy to roll up and remove the sod. However, it can be costly and difficult for beginners to handle.
Here’s how to use a sod cutter effectively:
Clearly mark the boundaries of your garden with stakes and string.
Set the depth of the sod cutter to match the root level of the grass you want to remove.
Slowly guide the sod cutter through your garden area, cutting strips of sod.
Finally, roll up the cut sod and remove it from your garden site. This may be reused elsewhere or composted.
Utilising a Rototiller
A rototiller is a great tool for quickly breaking up soil and mixing in organic matter. It helps loosen compacted soil and can efficiently incorporate compost, making it an excellent option for larger areas.
Remove large rocks, sticks, and debris from your planting site.
Adjust the rototiller to a depth of about 15-20 cm. Avoid digging too deep, as this can bring up unwanted weed seeds, potentially leading to more weeds. Slowly move the rototiller back and forth across the garden area, ensuring even coverage.
Consider repeating this process a couple of times a week over a 3-4 week period to ensure the area is completely free from any grasses and weeds.
Sow your seeds as soon as you’ve prepared the area.
Now that you’ve prepared the site for your seeds, it’s time to choose and plant your wildflowers. Shop our range of wildflower seeds or get in touch with our friendly team for advice.
© Meadow Flowers Australia 2024

How To Grow Wildflower Seed Mixes
Are you looking to create your own beautiful meadow flower garden? Creating your own idyllic space with wildflower seeds can seem daunting, but in this handy step-by-step guide, we will take you through the journey to planting the ultimate outdoor area.

End of Season Care for Your Wildflower Meadow
Your magnificent meadow has been a dazzling display all season, but now the flowering is starting to wind down. What’s next? It's essential to mow meadows every Autumn after flowering ends. This practice ensures sunlight reaches the ground, which is crucial for perennials preparing to bloom next season.
No matter whether you have opted for an annual-only mix or a combination of annuals with perennials, here are our top tips on what you need to do once your annuals have finished flowering.
If You've Sown an Annual-Only Mix
Post-Flowering Care:
Mowing or Cutting Back: Once your meadow has finished flowering, you should mow or cut the annuals back to help keep your garden neat, tidy and ready for the next planting.
Wildlife Benefits: If you’re not planning to resow another mix, then consider leaving the clippings in place, as they can provide shelter and food for bees, insects, and other wildlife during the cooler months.
Seed Longevity: Some annuals may self-seed and reappear in future seasons. To help the seeds already on the ground last longer, remove all the cuttings and spread a thin layer of compost over the area before gently pressing the seeds into the soil. This will help to increase the chance of germination in the spring. However, if your meadow is only filled with annual wildflowers and is beginning to appear a little lacklustre, consider starting again.
If you have had any diseases in the meadow or find any mildew or fungal growth, it's best to mow and clear everything to prevent the spread of diseases through the soil.
If You've Sown an Annual with Perennial Mix
Post-Flowering Care:
If you have opted for a blend of annual with perennial seed mix, then these tips will help you to fill those bare patches and add a splash of colour and variety to your space.
Mowing or Cutting Back: Cut the annuals down to around 15cm above the ground. This will help your invigorate the perennials to better establish themselves in the following season.
Debris Removal: After mowing, be sure to remove all the debris and clear away any old plant material. This will help to prevent it from smothering new perennial growth and reduce the risk of diseases from developing.
Resowing Annuals: To keep your garden looking full and lush, re-sow an annual-only mix. For the best results, follow the recommended coverage rate for your seeds - not too much or too little. Once sown, compress your seeds to ensure good seed-to-soil contact and then water regularly until the seedlings are around 10-15 cm tall.
Additional Tips
Composting: Adding a thin layer of compost can enrich the soil and help seeds germinate.
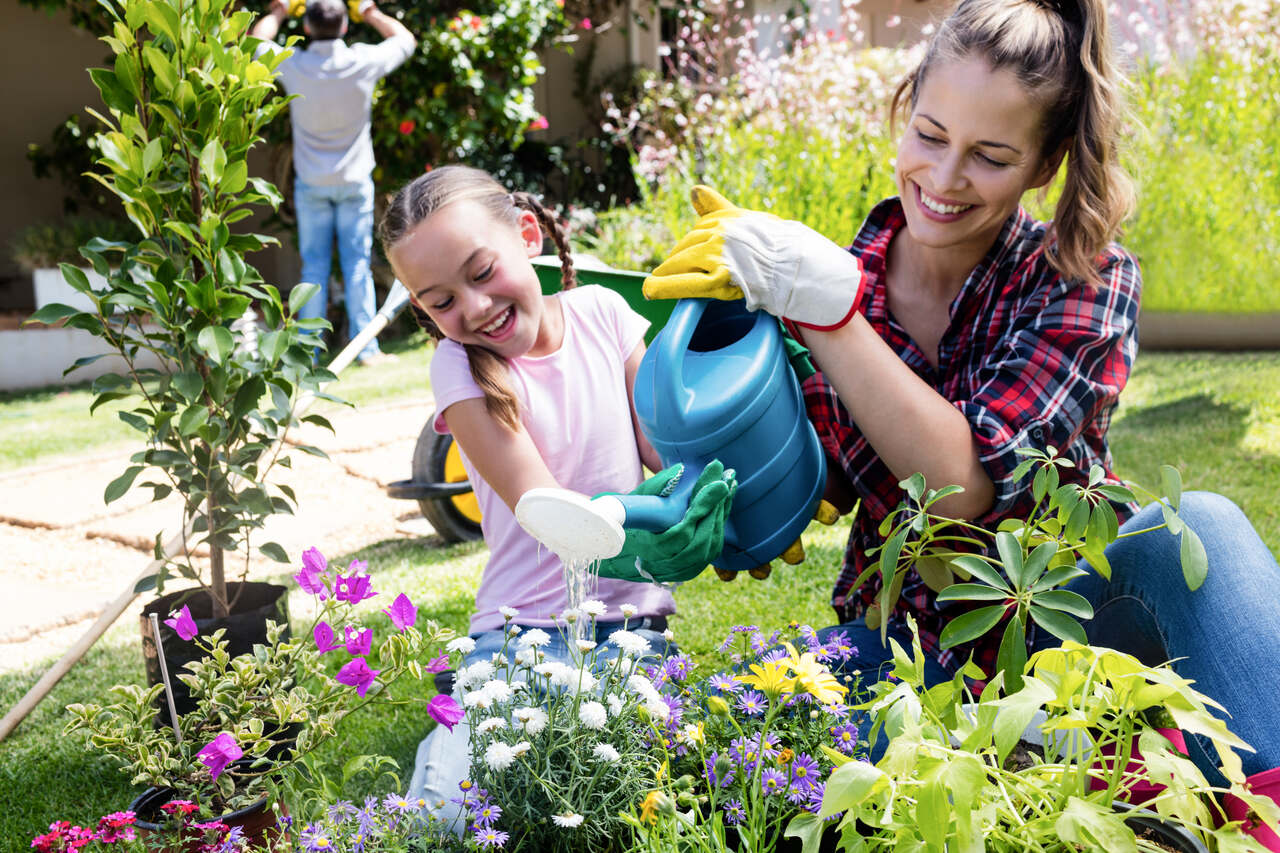
Watering: Ensure your garden is well-watered after sowing to help your seeds start to establish roots.
Mulching: Applying a thin layer of sugar-cane mulch can protect the soil over winter, retain moisture, and suppress weeds.
By following these steps, you can enjoy a beautiful, thriving garden year after year. Embrace the flexibility of annuals and the reliability of perennials to create a dynamic and stunning landscape. Happy gardening!