
From Our Family to Your Patch
Meadow Flowers Australia is a small family-owned wildflower seed mix company driven by a simple goal: to bring vibrant wildflower meadows to life by providing high-quality, ethically sourced seeds that thrive. We are based in Gold Coast, Queensland, and we’re passionate about helping gardens across Australia bloom beautifully and sustainably.
For Every Gardener And Every Garden
Not every garden is lush and fertile, but that doesn’t mean you can’t grow something beautiful. Our wildflower seed mixes thrive in even the most stubborn terrains, allowing you to beautify your landscape. Whether you have a small balcony, a sun-drenched backyard, or a sprawling property, there’s a Meadow Flowers Australia wildflower seed mix that will work for you.
Mixes As Pure & Sustainable As It Gets
Every seed variety in our collection is untreated, free from GMOs and other chemicals such as pesticides and sourced directly from farms and suppliers with a traceable reputation of ethical and sustainable agriculture.
-
Mixes Based On Research
Creating the perfect wildflower seed mix isn't just about mixing seeds that might look good together and calling it a day. It's about creating a blend of seeds that bloom beautifully and thrive together. That's why our experienced wildflower seed mix curators handpick, test and refine each blend until they create the right one.
Every wildflower seed mix we create is intentionally curated to grow in different heights, lifecycles, and lively contrasting colours with each variety complementing the next. The result? A meadow that brings the joy of gardening to your backyard and that peaceful, joyous and curious feeling that emerges as you watch your meadow take root, bloom, fade and grow again.
-
Service As Great As Our Seeds
We take pride in delivering wildflower seed mixes of great quality, and that starts long before they arrive at your doorstep. Each mix undergoes stringent quality checks to ensure that our customers receive fresh, viable and perfectly balanced seeds guaranteed to create beautiful meadows.
Our commitment to great service doesn’t just stop at delivering quality seeds. As a small business, we take great pride in providing our customers with truly personalised and bespoke service, from helping you choose the right mix for your soil type to sharing expert recommendations to help you grow a spectacular garden and everything in between. No matter how big or small your project is, we’re here for you.
-
Purely Natural Seeds
Sustainability is at the heart of everything we do, and that is why each wildflower seed mix we curate comprises non-GMO, open-pollinated seeds that are free from harmful chemicals. Our wildflower seed mixes are carefully curated, always non-GMO, open-pollinated, and free from harmful chemicals.
But that's not all. We source our seeds from trusted, ethical growers who share our commitment to sustainability. The result? You get to grow something as good for the planet as it is for your garden.

Meadows With A Purpose
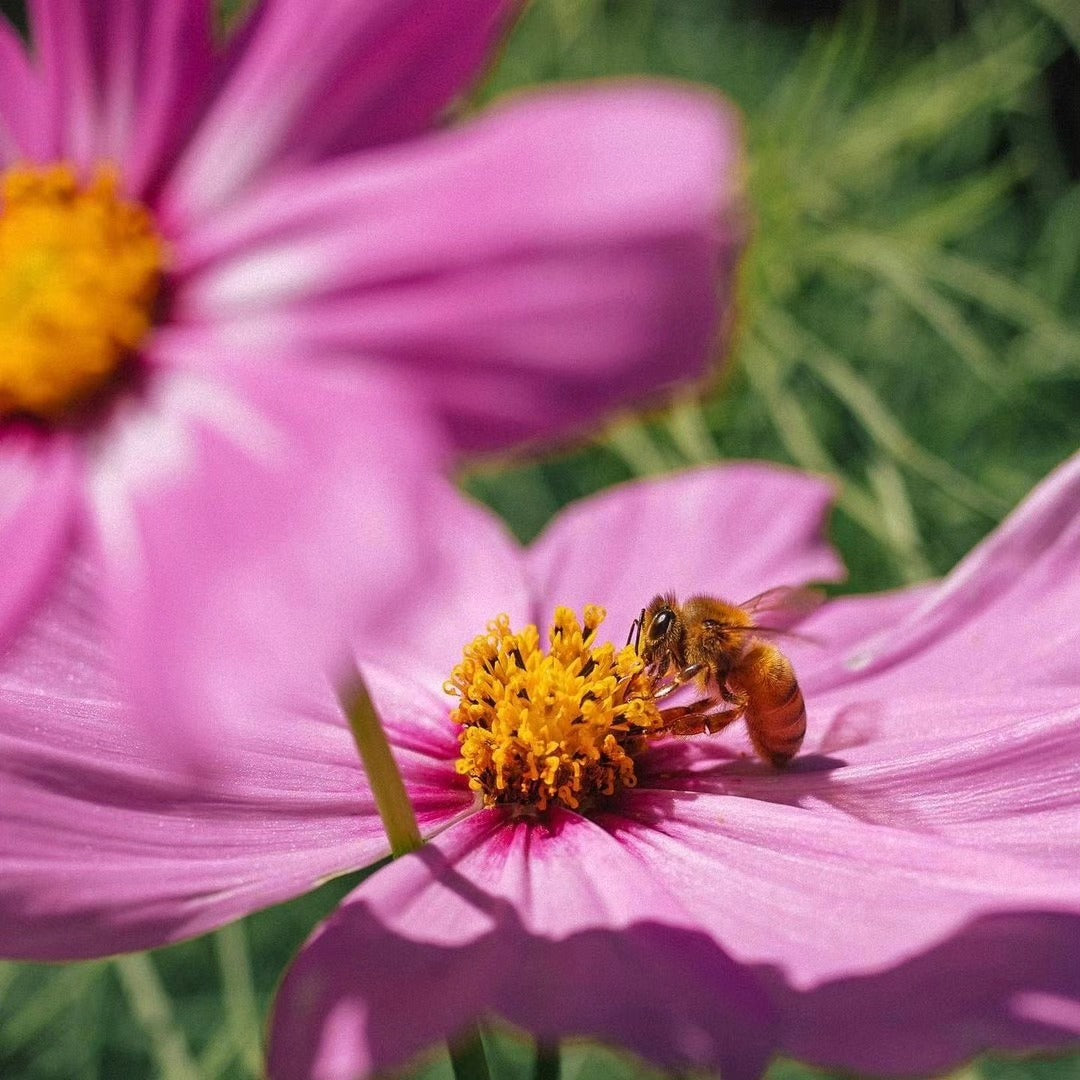
At Meadow Flowers Australia, we're not just beautifying spaces with vibrant floral displays. We're working hard to restore the natural habitats of endangered pollinators, especially with bees and other pollinators facing increasing threats due to habitat loss from urbanisation, pesticides and climate change.
Why pollinators? Because they not only maintain balance and biodiversity in local ecosystems but are also essential for supporting our entire food system. Without them, wild plants and animals that rely on them will be impacted, causing an imbalance in the ecosystem. Plus, meadows also offer higher levels of soil microbial biodiversity, improving overall soil health as a result.
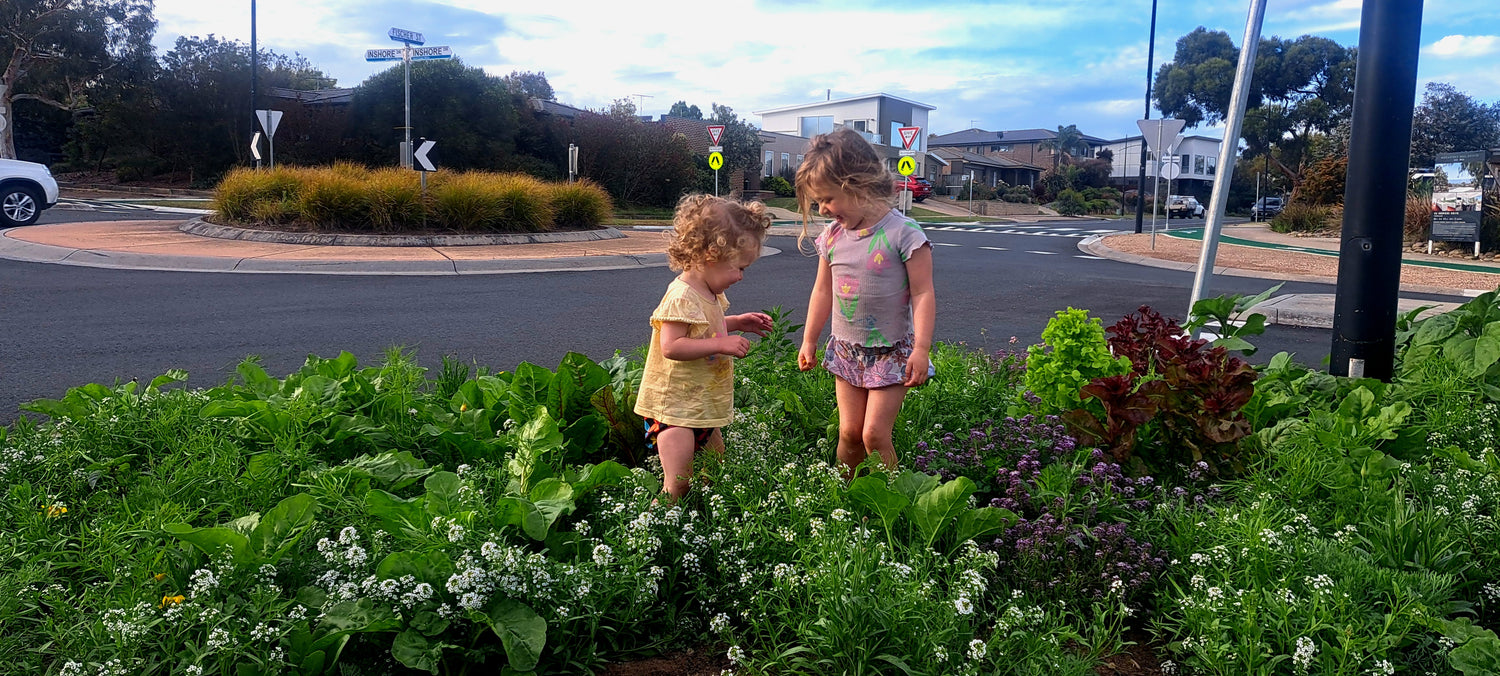
Doing Good With Every Seed
We know that growing meadows is good for you, the community and our planet, and spending time in nature can boost mental health, reduce stress, and increase happiness. That’s why we encourage everyone, from adults and kids to schools, and businesses, to get involved in growing wildflowers, because when we nurture nature, it nurtures us right back.
We actively support community projects, schools, conservation groups, and councils to bring people together and introduce meadows to more spaces across Australia.


